HOW TO PHOTOGRAPH THE MOON
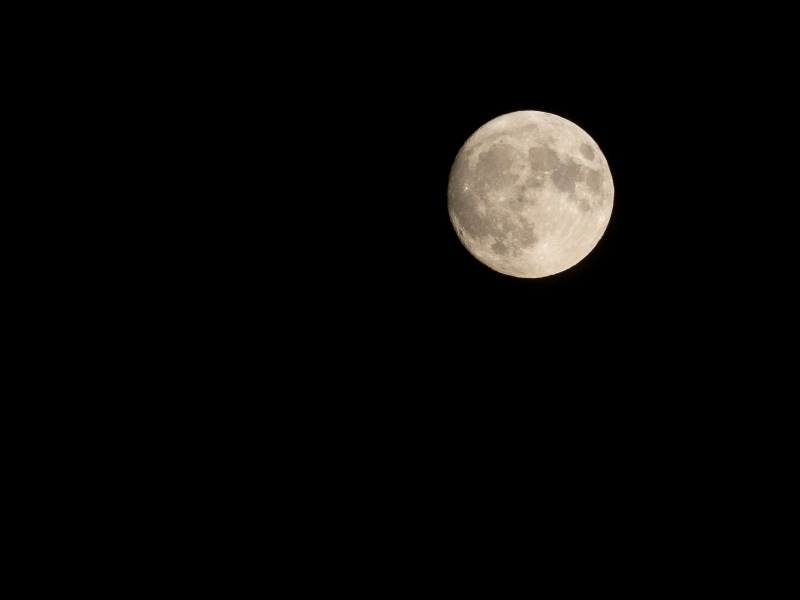
At some point every photographer decides to try and photograph the Moon and why not,
it is a beautiful subject.
On first attempt the results are often disappointing with the Moon being over exposed
and appearing as just a white disc.
Here are some great tips and tricks to help you take amazing Moon images with plenty
of detail.
USE YOUR LONGEST LENS
The Moon is over a quarter of a million miles away so it makes sense to use the longest
lens you have available. At minimum a 200mm lens will do the job but if you have
access to longer lenses then use them. Even with a 200mm lens you will get good results
that you can crop into in post production.
IF YOU OWN A TRIPOD, USE IT
A sturdy tripod will definitely help you to get better results. Setting your camera
on a solid base will prevent camera shake as well as enabling you to frame your image
and concentrate on taking the shots. If you do not have a tripod available the last
tip below will enable you to shoot handheld and still take great photos.
SET YOUR CAMERA TO MANUAL MODE
To ensure you get the best results you will need to have complete control over your
aperture, shutter speed and ISO. Using manual mode will give you this control, other
modes like aperture priority and shutter priority will give false exposure readings
and result in overexposed images.
IGNORE YOUR CAMERAS EXPOSURE METER
This may seem like an odd piece of advice but your camera’s exposure meter will try
to work out an average exposure reading based on the full scene. With the Moon being
basically a very bright sphere set against a very dark background, the camera will
give a false reading and over expose the Moon itself. This brings us to the next
tip on how to set up your camera.
THE LUNAR 11 RULE
If we are ignoring our exposure meter how should we set up the camera?
This is where the ‘Lunar 11 rule’ will be your best friend, it is incredibly simple
and gives great results every time.
The first thing to do is to set your aperture to F:11, hence the name.
Next you need to set your shutter speed to match your ISO.
For example if you are using ISO 200 then set your shutter speed to 1/200th of a
second.
The Lunar 11 rule will produce images that show all of the Moon’s details in both
the highlights and the shadows.
Another advantage of using the Lunar 11 rule is that by increasing your ISO and shutter
speed you can work handheld without the need for a tripod.
If you set your ISO to 800 you can now set your shutter speed to 1/800th of a second
which should be fast enough for handheld shots to be steady and sharp.
Below is a list of settings, using the Lunar 11 rule, that will help you to get great
Moon
photographs.
LUNAR
11 RULE CAMERA SETTINGS
There are plenty of websites that will give you information on the Moon’s phases
and when full and super Moons can be seen.
Wrap up warm and go and take some amazing Moon photographs.